Search This Blog

September 11, 2012

Fruit Scrap Vinegar: something from nearly nothing

Finally, I have completed two batches of fruit scrap vinegar, and I am ready to share a tutorial with you.
The process to make vinegar is very simple, and only requires a few minutes of preparation followed by three long weeks of waiting.  Both of my completed batches of vinegar were made with apples; resulting in something similar to Apple Cider Vinegar.  However, this method can also be used on pineapple and a variety of other fruits.  I have not found many testimonials of those who have used anything beyond pineapple and apple.  If you should decide to try something else, please leave a comment on the end result!
It is a wonderful way to add one more step of use between the fresh produce and compost stages.  In fact, my first batch of vinegar took apple scraps, that would have become compost, and turned them to vinegar which I used to make pickles.  When the pickles are gone, we will use the pickle juice again or put it in a Bloody Mary.  One can't help but feel that they are creating something from nothing when using this process!
If you are wondering what to do with the vinegar when it is done, don't worry!  Vinegar has many useful qualities including, but not limited to, pickling, cleaning, skin care, and hair care.  Just drinking a small amount daily is believed to be beneficial.  Need more ideas?  Check this out: Vinegar Tips
Anyway, without further ado, here is a fruit scrap vinegar tutorial based on a recipe from Wild Fermentation by Sandor Ellix Katz.


For this recipe, you will need fruit scraps, sugar, and water.  Fruit scraps can be any part of the fruit including skin and core.  I have taken to saving apple cores in the freezer after eating until I have enough to make a batch.  There is no magic amount for how much fruit scrap to use.  I have experimented with different amounts and gotten different flavors as a result.  As a general rule, the more fruit in a batch, the more fruity flavor you will get.  Less fruit will still make vinegar, but the flavor is much more sour.  You should have at least enough liquid to cover the fruit entirely.
Begin by cutting up your fruit scraps and placing them in a jar.  For this batch I only used one apple.  I would suggest making less vinegar if you are going to use such a small amount of fruit as this vinegar came out rather bland.  For the batch before this, I made the same amount (1 quart) but I used one apple and some apple cider.  The results were much more pleasing.


Next, dissolve sugar in water by heating it up on the stove and stirring.  You should use 1/4 cup of sugar per quart of water.  Once the sugar is dissolved completely, pour it over the fruit scraps in the jar.


At this point, your mixture should look clear and clean, like the one in the image above.  Do not put a normal lid on the jar.  The lid I have used here is a sprouting lid with a screen that I am using to discourage flies and simplify the straining process.  They can be found in any food co-operative. You could also make one of these by cutting up a window screen and using a mason jar lid.


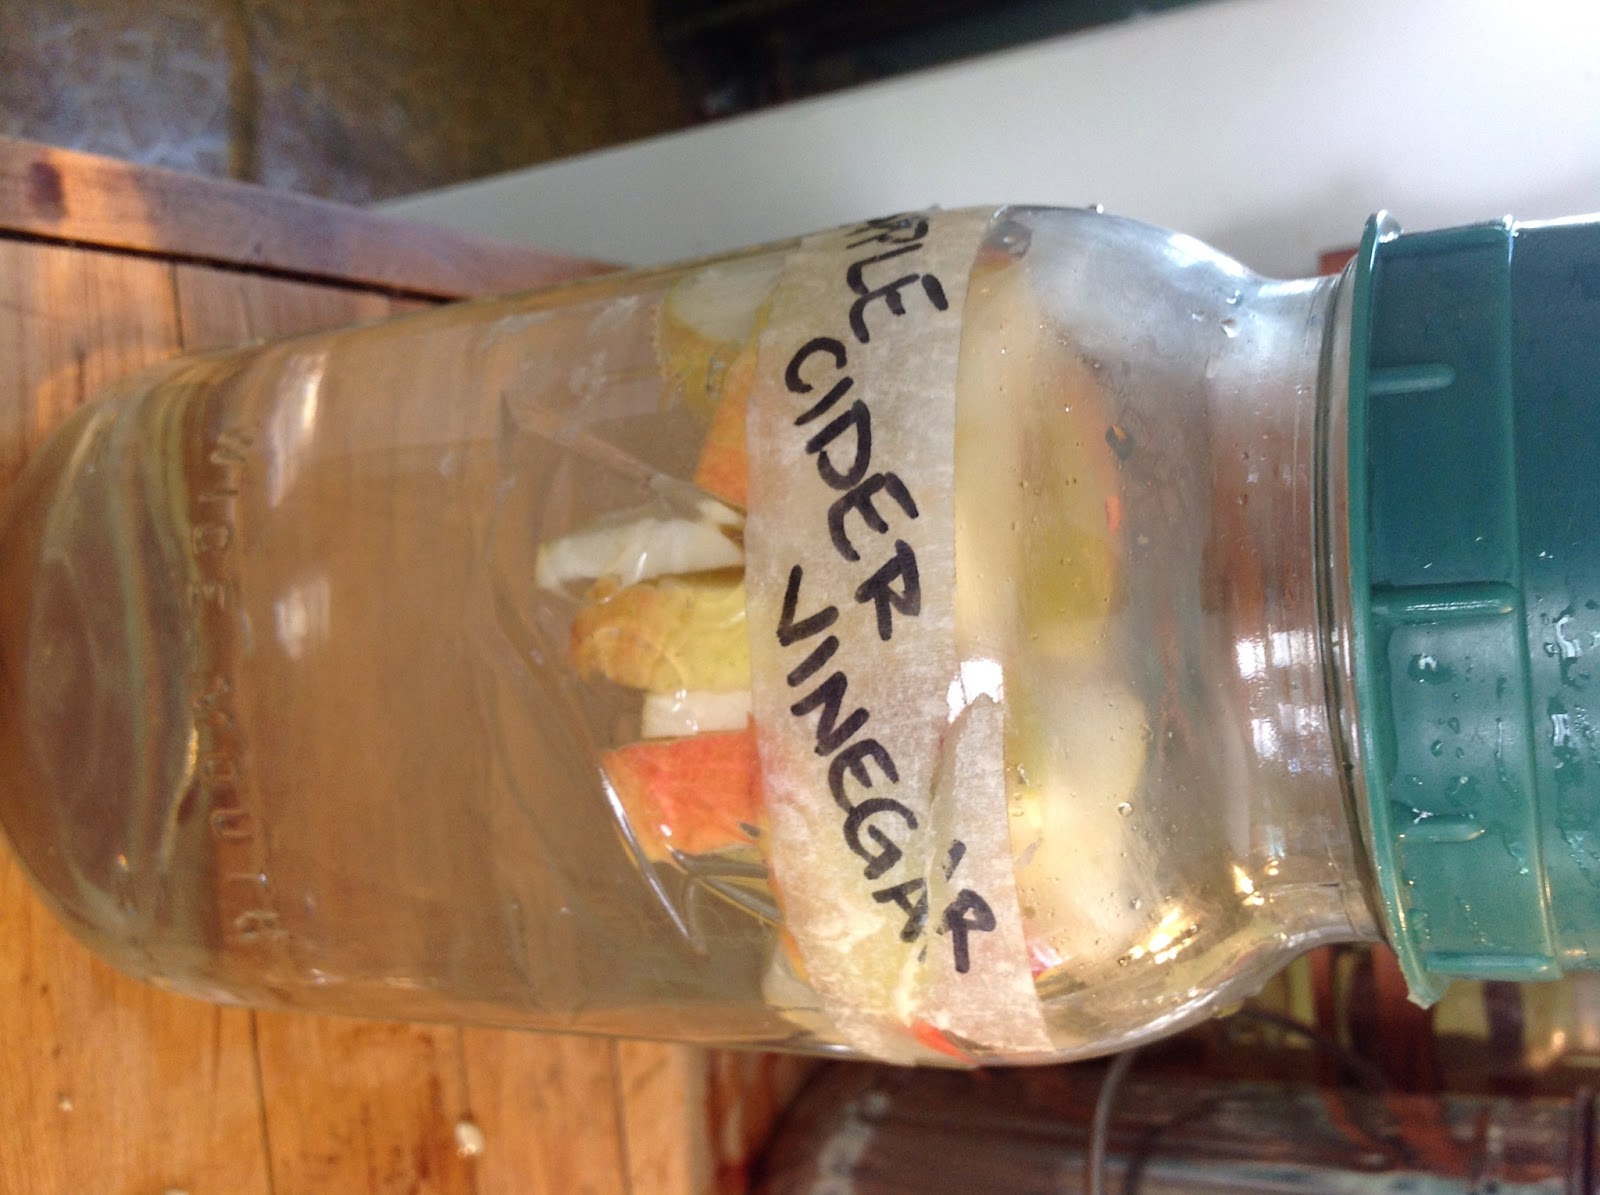
At this point I like to label the jar with the date made, the date to be strained (one week), and the date range it will be finished (2 to three more weeks).
Place a clean dish towel or cheese cloth over the jar and set it aside in a room temperature area out of direct sunlight.  Wait one week.  During this week agitate jar occasionally, but be sure to keep covered so pests stay out of your vinegar.


After one week, strain out the fruit scraps.  At this point, your vinegar should look cloudy and smell a bit like hard cider.


Cover the jar of vinegar again and return it to the shelf for another two to three weeks.  During the process, feel free to check up on it, smell it, look at it, and agitate it a little.  The smell should go from an alcohol smell to a vinegar one.  If there is mold, or bugs get into it, throw it away and start over.  Vinegar goes more quickly in hot weather, and you will likely only have to wait two weeks.  If it is cold in your house, three weeks will be necessary.
When the time is up, taste your vinegar.  It should be tangy and have a slight effervescent feel on your tongue.  This is also a fun time to compare a batch with previous batch and analyze results.  It should be cloudy and a little darker than before with a definite vinegar smell.


At this point I like to transfer my vinegar into bottles and keep it in the fridge.  You do not have to do so however, as it should be safe on the counter with a lid on it.  
That's it!  It is a fun and easy process that reaps many rewards, saves money, and leaves you feeling accomplished.  Enjoy, and please leave comments on any issues, experiences, or interesting results you encounter in your own vinegar-making experiences!

August 9, 2012

Fridge Pickles: hurry up and wait.

My first batch of Apple Cider Vinegar got done this week (there will be a tutorial on that as well) and I was eager to try making something with it.  A friend suggested fridge pickles, as I recently was given a large cucumber from someone's garden.  This is a very simple project and only took a few minutes to complete.  I love home made pickles because they can easily be customized to anyone's tastes.  Also, fridge pickles are much easier than canned or fermented pickles and anyone can make them!
For this project, you will need vinegar, water, and salt, as well as something to be pickled, spices of your choice, and a jar.


Within this list, there are a number of factors that you can customize to your taste.  Any vegetable can be pickled, and you can choose to pickle them raw for crunchier pickles, or blanched (in your brine) for softer pickles.  You can also choose any type of vinegar.  I chose ACV since I made it myself, and it is one of the most beneficial types of vinegar.  Salt should be non-iodized.  I chose a pickling salt we had in the cupboard.  Also, you can choose any spices that you enjoy!  I chose dried local dill, peppercorns, a spicy pepper from a friend's garden, coriander, and cumin.  I used 1/2 tsp of each spice.  Finally, if you like sweet pickles, you can add a tsp of sugar (or more if you want).  I chose not to use sugar, as I like sour pickles.

First, bring the following to a boil; 1 cup water, 1 cup vinegar, and 1 Tbsp salt.  Boil until the salt is dissolved.  In the mean time, cut up your veggies and put them in the jar with your seasonings.


Cover the veggies and spices with the brine and cover.  At this point, I like to label with the date the pickles will be done.  You should wait a minimum of two weeks, but three weeks is better.


That's it!  As you can see, it's a simple, quick process, with ample and tasty rewards.  Enjoy!
Feel free to leave comments on spice or vegetable combinations you try, and how they turn out!

Everything turned out better than expected!

In my last post, I was convinced that my yarn dyeing experiment had been a failure.  I couldn't have been farther from the truth!  Once they dried, both of the yarns I died in black beans were surprisingly, beautifully colored!  The yarn that started out white ended up having a nice mixture of beige and baby blue with spots of red from the yarn I tied the skein with.


I am most enamored with the alpaca yarn.  Where it was a light brown, it picked up a light, silvery blue that compliments it's dark brown streaks perfectly.  I am so pleased with the results, it is better than I could have hoped for!


The transformation from fiber to yarn has been an amazing one, and a fantastic, though lengthy, process.  Just to give myself (and you) a visual representation of this process, I compared the yarn with a small piece of the original fiber.


As you can see, I wound both of my skeins of yarn into balls.  This is a personal choice and is not necessary.  Yarn can be kept in skeins until you are ready to use them.  I chose to wind them into a ball so the crochet process would go more smoothly.
The next, and final step, is to wind these beautiful works of art into a fabric!  Please comment with your suggestions of what I should make.  I have about 178 feet of the alpaca yarn, and considerably more of the other yarn.

August 3, 2012

If at first you don't succeed, dye, dye again.

In two of my previous posts, I began reviewing the process I have followed in processing yarn from fiber to fabric.  My last post on the subject led up to the point of immersing the yarn in the black bean water.
The yarn sat in the bean water for three days.  On the third day, mold began growing on the yarn itself, not the surface of the water.  I removed the yarn from the bean water and dumped the remaining dye.

Since the mold was growing on the yarn itself, I did my best to remove it by hand.  After doing this, the yarn still had a black goo on it from the mold.


The next step was washing the yarn.  I wanted to try to remove the black slime and also even out the Ph.  For this I made a bath of water and Dr. Bronner's.


The yarn that I purchased at Salvation Army had the worst mold damage and I am not sure it will be salvageable.  It picked up the color the best though and I ended up with a pale purplish grey.


The alpaca yarn that I made had much less mold damage and seems to have picked up a little color, but it is hard to tell what it will look like when it dries.


I hung the two up to dry in the bathroom.  It will likely take a few days until they are both dry.


I'm not sure what went wrong, but I'm pretty disappointed in the results.  One thing I will be sure to do next time is add sodium benzoate to the dye bath to keep it from molding.  I also think that there may have been an error with the mordant since neither of the yarns seemed to hold much color.

Although this first attempt at dyeing did not go well, I will still try again in the future.  I am not sure if I would go with black bean dye again however.  If you have any tips on what might have gone wrong, please let me know!

July 30, 2012

Dyeing to try it: first attempts at natural dyes

In my last post, I chronicled the process of my first creation of yarn from fiber.  Using a pre-processed Alpaca fiber, I made single ply art yarn.

In this post, I will be showing the process of dyeing the yarn using a natural dye obtained from black beans.  My goal is to get a nice blue color.  However, black bean dye is very sensitive and I have seen color results ranging from grey to blue to sage green.  I will be using this process on the Alpaca yarn I discussed in my last post, as well as some yarn I purchased for a dollar at Salvation Army.  This second yarn came in a ball, but I re-wound it into a skein (on my arm this time) similar to my home-made yarn so that the dye would take better.

The method I followed is outlined at Osborn Fiber Studio.  The first step is Mordanting.  Mordant helps the yarn hold color, locking the dye into the fiber follicle.  Since I am dyeing animal fibers, I chose to use Alum as my mordant.


Mordanting with Alum also requires the use of Cream of Tartar, which I obtained at the local food co-op.  Alum can also be purchased at grocery stores, as it is sometimes used in pickling, but I purchased mine at a yarn store.  The total weight of the two yarns was around 10 oz.  This means I had to use 2.5 oz of Alum (1/4 weight of yarn), and 2.5 Tbsp of Tartar (one for every oz of Alum).  The powders were then put into the dye pot (make sure anything you use here will never touch food again), and hot water was added to dissolve them.  After this, I added enough water to cover my yarn, and the two skeins of yarn.


To get the mordant to stick, bring the water to a boil, then simmer, covered, for one hour.  The smell at this point was not pleasant.  Alum is somewhat toxic, so I had to be very careful to avoid fumes and steam.  The smell was somewhat headache inducing even so.


While the mordant bath was simmering, I worked on preparing the black beans.  I filled my stock pot (food safe acceptable here) with 40 oz of black beans (4x the weight of the yarn) and water and covered it.  This was then allowed to sit over night with the occasional stir.


Once the mordant bath was done simmering, I set it out on the back deck to cool overnight.  This morning, I dumped the water from the mordant bath, and scooped the water from the black beans into the dye pot with the yarn.  Keeping the beans separate from the water was difficult and as a result, I may get a grayer color than I hoped for.


The white yarn started picking up color as soon as it touched the bean water.  The alpaca fiber seems to be picking up color more slowly.  I will be checking it occasionally for the next day or two and may leave the yarn in the dye for a few days if needed.
I will be posting a follow up on this post with photos on the finished yarns and information on how to wash and dry the completed skeins.

Yarn; from fiber to fabric

One of the main projects I have been pursuing is the creation of clothing from basic materials than can be harvested from the farm. Although I do not yet have a farm of my own, my goal is to be able to make everything from shoes to shirts using only materials I will be able to grow or harvest of my own land. This is an aspect of living off the grid that many of us do not consider as clothing is currently very accessible and cheap to everyone. This quest began with the question; "If I were unable to buy shoes, how would I protect my feet?".
 Amazed with the lack of knowledge I possessed in this area, my query quickly spread to other forms of clothing.The easiest way to answer this question is to look back on the practices our ancestors utilized before manufactured clothing was readily available. Obvious materials to be used in the solving of this dilemma include leather, cotton, cordage, and wools.The most accessible method, which I chose to tackle first, was yarn. Since I live in a cold climate, the ability to create yarn from fiber seems to be a very valuable skill.This post will aim to chronicle my efforts in this thus far.

The first step in creating yarn is to obtain fiber. This can be achieved using a large variety of both plant and animal sources including cotton, hemp, alpaca, sheep, and angora rabbits. There are different processes for the cleaning and preparing of fiber depending on the medium one chooses to work with. It is my goal to own an angora rabbit from which I can obtain fiber that requires very little processing and cleaning. However, as I have not yet achieved this goal, I obtained pre-processed alpaca fiber from the local farmers market for my first attempt in yarn making.


Since I am using a drop spindle I decided to only make a one-ply yarn.  If I were making a two-ply yarn, I would repeat this process again, twisting the yarn together.  I followed a tutorial by Megan LaCore from theartofmegan.com.

Once the drop spindle was full, and the fiber all spun, I wound the yarn into a skein onto the back of a chair and tied it off with red yarn.  White string would have been more ideal for this process, as the yarn will likely leak color.  However, I am not worried about this and I am using what I have available.

Once the skein was tied off, I removed it from the chair and immersed it in hot water for ten minutes to lock in the wind.  Afterwards, I hung it to dry, a process that took a few days.


Once the yarn is dry, the skein can be wound into a ball by twisting, and tucking one end into the other.  This makes for easy storage while waiting to be dyed or used.