The process to make vinegar is very simple, and only requires a few minutes of preparation followed by three long weeks of waiting. Both of my completed batches of vinegar were made with apples; resulting in something similar to Apple Cider Vinegar. However, this method can also be used on pineapple and a variety of other fruits. I have not found many testimonials of those who have used anything beyond pineapple and apple. If you should decide to try something else, please leave a comment on the end result!
It is a wonderful way to add one more step of use between the fresh produce and compost stages. In fact, my first batch of vinegar took apple scraps, that would have become compost, and turned them to vinegar which I used to make pickles. When the pickles are gone, we will use the pickle juice again or put it in a Bloody Mary. One can't help but feel that they are creating something from nothing when using this process!
If you are wondering what to do with the vinegar when it is done, don't worry! Vinegar has many useful qualities including, but not limited to, pickling, cleaning, skin care, and hair care. Just drinking a small amount daily is believed to be beneficial. Need more ideas? Check this out: Vinegar Tips
Anyway, without further ado, here is a fruit scrap vinegar tutorial based on a recipe from Wild Fermentation by Sandor Ellix Katz.
For this recipe, you will need fruit scraps, sugar, and water. Fruit scraps can be any part of the fruit including skin and core. I have taken to saving apple cores in the freezer after eating until I have enough to make a batch. There is no magic amount for how much fruit scrap to use. I have experimented with different amounts and gotten different flavors as a result. As a general rule, the more fruit in a batch, the more fruity flavor you will get. Less fruit will still make vinegar, but the flavor is much more sour. You should have at least enough liquid to cover the fruit entirely.
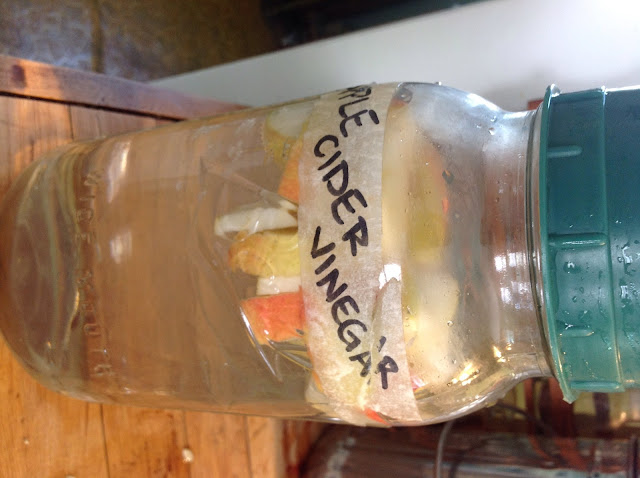
Begin by cutting up your fruit scraps and placing them in a jar. For this batch I only used one apple. I would suggest making less vinegar if you are going to use such a small amount of fruit as this vinegar came out rather bland. For the batch before this, I made the same amount (1 quart) but I used one apple and some apple cider. The results were much more pleasing.
Next, dissolve sugar in water by heating it up on the stove and stirring. You should use 1/4 cup of sugar per quart of water. Once the sugar is dissolved completely, pour it over the fruit scraps in the jar.
At this point I like to label the jar with the date made, the date to be strained (one week), and the date range it will be finished (2 to three more weeks).
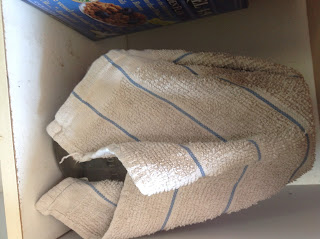
Place a clean dish towel or cheese cloth over the jar and set it aside in a room temperature area out of direct sunlight. Wait one week. During this week agitate jar occasionally, but be sure to keep covered so pests stay out of your vinegar.
After one week, strain out the fruit scraps. At this point, your vinegar should look cloudy and smell a bit like hard cider.
Cover the jar of vinegar again and return it to the shelf for another two to three weeks. During the process, feel free to check up on it, smell it, look at it, and agitate it a little. The smell should go from an alcohol smell to a vinegar one. If there is mold, or bugs get into it, throw it away and start over. Vinegar goes more quickly in hot weather, and you will likely only have to wait two weeks. If it is cold in your house, three weeks will be necessary.
When the time is up, taste your vinegar. It should be tangy and have a slight effervescent feel on your tongue. This is also a fun time to compare a batch with previous batch and analyze results. It should be cloudy and a little darker than before with a definite vinegar smell.
At this point I like to transfer my vinegar into bottles and keep it in the fridge. You do not have to do so however, as it should be safe on the counter with a lid on it.
That's it! It is a fun and easy process that reaps many rewards, saves money, and leaves you feeling accomplished. Enjoy, and please leave comments on any issues, experiences, or interesting results you encounter in your own vinegar-making experiences!


No comments:
Post a Comment