Search This Blog

July 30, 2012

Dyeing to try it: first attempts at natural dyes

In my last post, I chronicled the process of my first creation of yarn from fiber.  Using a pre-processed Alpaca fiber, I made single ply art yarn.

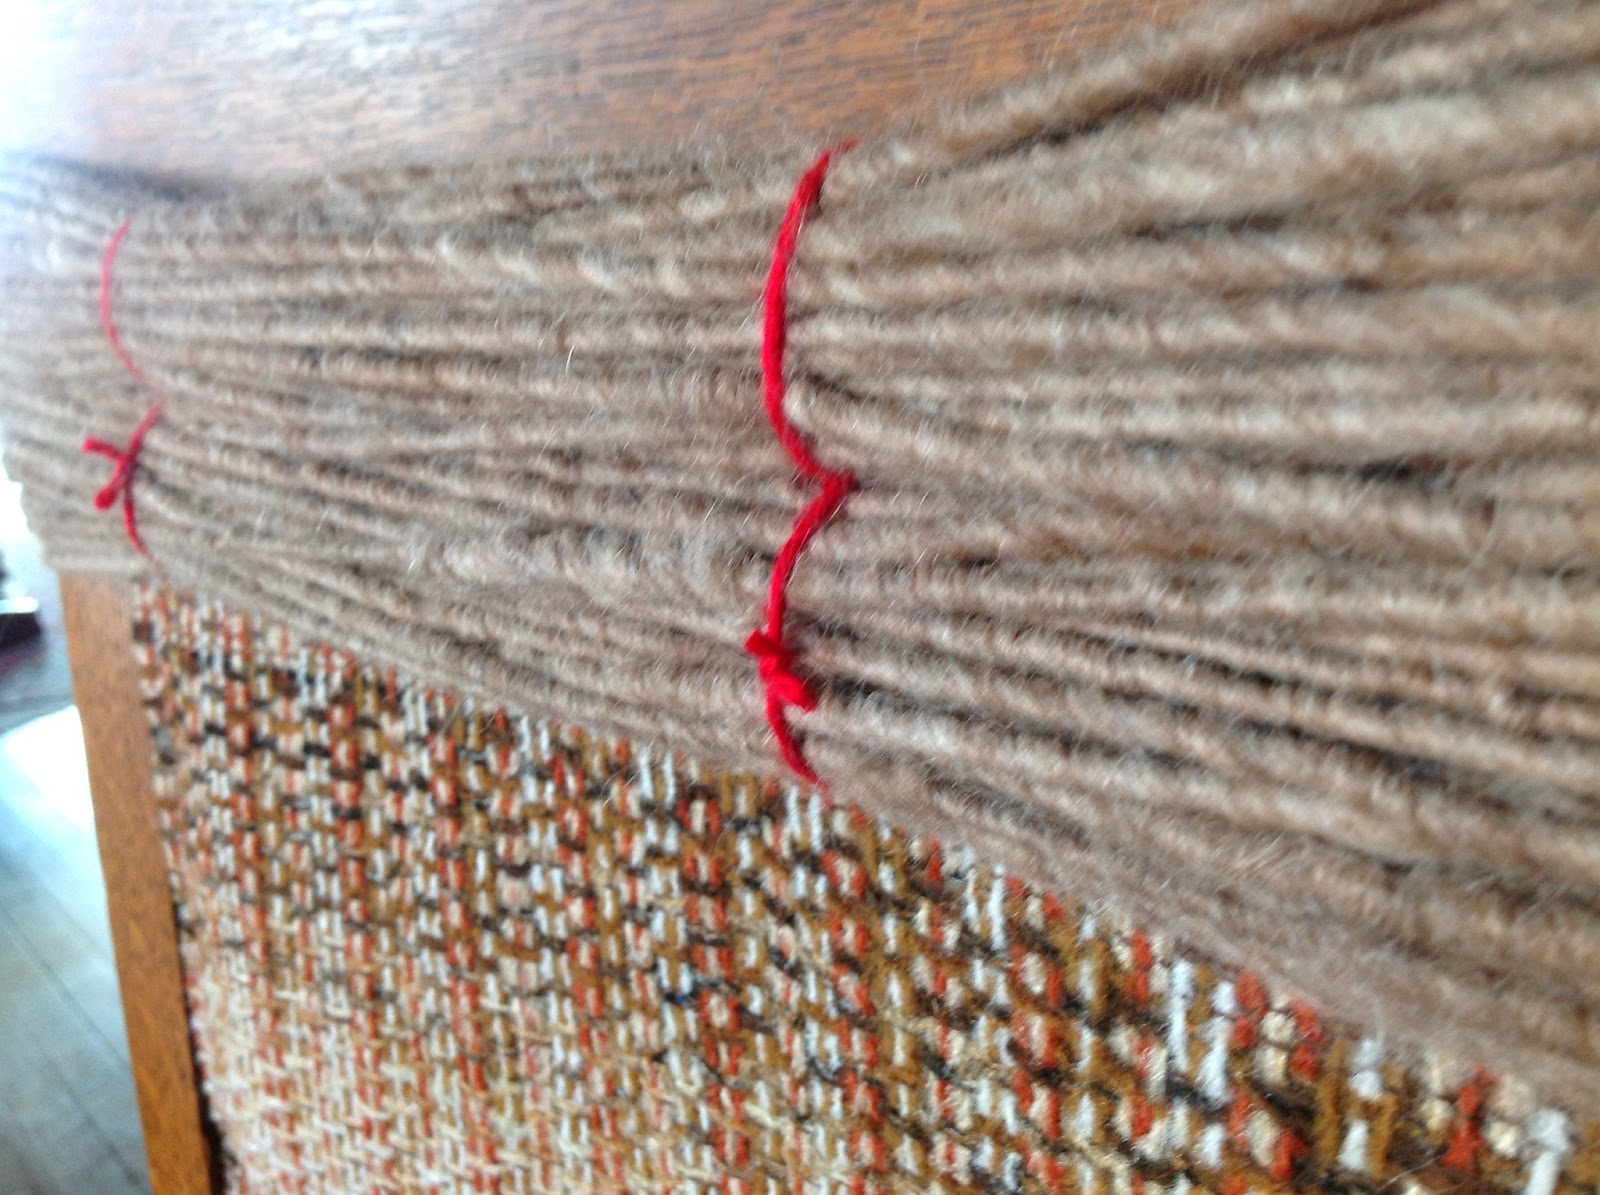
In this post, I will be showing the process of dyeing the yarn using a natural dye obtained from black beans.  My goal is to get a nice blue color.  However, black bean dye is very sensitive and I have seen color results ranging from grey to blue to sage green.  I will be using this process on the Alpaca yarn I discussed in my last post, as well as some yarn I purchased for a dollar at Salvation Army.  This second yarn came in a ball, but I re-wound it into a skein (on my arm this time) similar to my home-made yarn so that the dye would take better.

The method I followed is outlined at Osborn Fiber Studio.  The first step is Mordanting.  Mordant helps the yarn hold color, locking the dye into the fiber follicle.  Since I am dyeing animal fibers, I chose to use Alum as my mordant.


Mordanting with Alum also requires the use of Cream of Tartar, which I obtained at the local food co-op.  Alum can also be purchased at grocery stores, as it is sometimes used in pickling, but I purchased mine at a yarn store.  The total weight of the two yarns was around 10 oz.  This means I had to use 2.5 oz of Alum (1/4 weight of yarn), and 2.5 Tbsp of Tartar (one for every oz of Alum).  The powders were then put into the dye pot (make sure anything you use here will never touch food again), and hot water was added to dissolve them.  After this, I added enough water to cover my yarn, and the two skeins of yarn.


To get the mordant to stick, bring the water to a boil, then simmer, covered, for one hour.  The smell at this point was not pleasant.  Alum is somewhat toxic, so I had to be very careful to avoid fumes and steam.  The smell was somewhat headache inducing even so.


While the mordant bath was simmering, I worked on preparing the black beans.  I filled my stock pot (food safe acceptable here) with 40 oz of black beans (4x the weight of the yarn) and water and covered it.  This was then allowed to sit over night with the occasional stir.


Once the mordant bath was done simmering, I set it out on the back deck to cool overnight.  This morning, I dumped the water from the mordant bath, and scooped the water from the black beans into the dye pot with the yarn.  Keeping the beans separate from the water was difficult and as a result, I may get a grayer color than I hoped for.


The white yarn started picking up color as soon as it touched the bean water.  The alpaca fiber seems to be picking up color more slowly.  I will be checking it occasionally for the next day or two and may leave the yarn in the dye for a few days if needed.
I will be posting a follow up on this post with photos on the finished yarns and information on how to wash and dry the completed skeins.

Yarn; from fiber to fabric

One of the main projects I have been pursuing is the creation of clothing from basic materials than can be harvested from the farm. Although I do not yet have a farm of my own, my goal is to be able to make everything from shoes to shirts using only materials I will be able to grow or harvest of my own land. This is an aspect of living off the grid that many of us do not consider as clothing is currently very accessible and cheap to everyone. This quest began with the question; "If I were unable to buy shoes, how would I protect my feet?".
 Amazed with the lack of knowledge I possessed in this area, my query quickly spread to other forms of clothing.The easiest way to answer this question is to look back on the practices our ancestors utilized before manufactured clothing was readily available. Obvious materials to be used in the solving of this dilemma include leather, cotton, cordage, and wools.The most accessible method, which I chose to tackle first, was yarn. Since I live in a cold climate, the ability to create yarn from fiber seems to be a very valuable skill.This post will aim to chronicle my efforts in this thus far.

The first step in creating yarn is to obtain fiber. This can be achieved using a large variety of both plant and animal sources including cotton, hemp, alpaca, sheep, and angora rabbits. There are different processes for the cleaning and preparing of fiber depending on the medium one chooses to work with. It is my goal to own an angora rabbit from which I can obtain fiber that requires very little processing and cleaning. However, as I have not yet achieved this goal, I obtained pre-processed alpaca fiber from the local farmers market for my first attempt in yarn making.


Since I am using a drop spindle I decided to only make a one-ply yarn.  If I were making a two-ply yarn, I would repeat this process again, twisting the yarn together.  I followed a tutorial by Megan LaCore from theartofmegan.com.

Once the drop spindle was full, and the fiber all spun, I wound the yarn into a skein onto the back of a chair and tied it off with red yarn.  White string would have been more ideal for this process, as the yarn will likely leak color.  However, I am not worried about this and I am using what I have available.

Once the skein was tied off, I removed it from the chair and immersed it in hot water for ten minutes to lock in the wind.  Afterwards, I hung it to dry, a process that took a few days.


Once the yarn is dry, the skein can be wound into a ball by twisting, and tucking one end into the other.  This makes for easy storage while waiting to be dyed or used.